To install Prizm Content Connect, follow these steps:
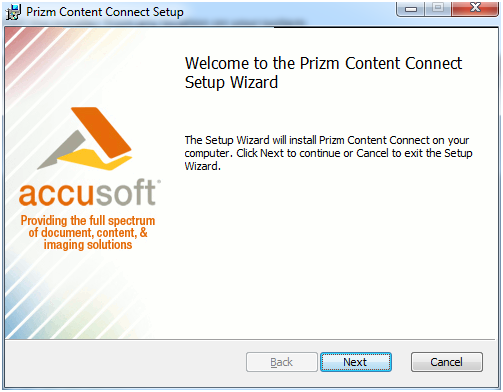
- Start the installer from any location on your system.
- Click the Next button to continue.
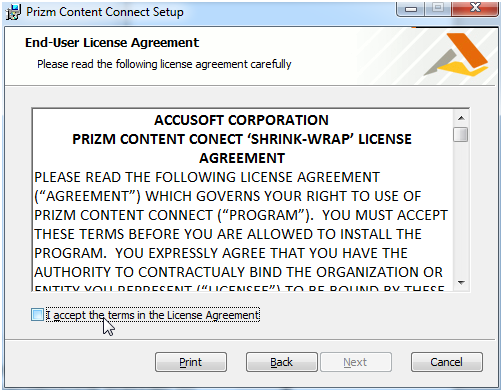
- Carefully read the information contained in the License Agreement form before making a decision to accept the terms of the agreement. Choose I accept the terms in the License Agreement to accept the conditions outlined in the License Agreement and then click the Next button to continue the installation, or click Cancel to exit the installation process.
- After clicking Next, the Destination Folder form is displayed. Specify the destination directory where the Prizm Content Connect product should be installed or choose the default installation destination directory. Then click Next.

-
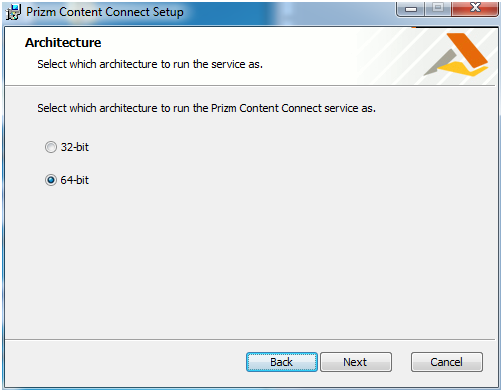
[64-bit Only] If you are installing Prizm Content Connect on a 64-bit system, you will have the option to select the Architecture for your system. Once you have selected an architecture, click the Next button to proceed.
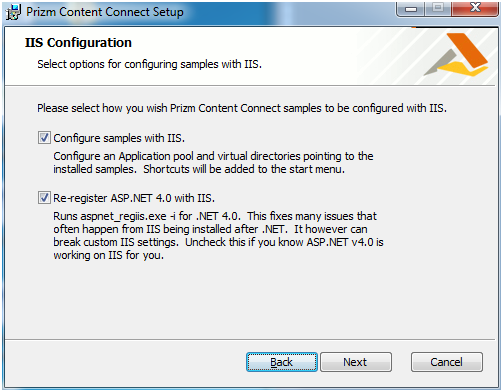
- If the system on which you are installing Prizm Content Connect has IIS installed, the installer will prompt you to configure the Plus and HTML5 product samples within IIS. Deselect the first option if you do not want the installer to configure the samples on this system.
- Additionally within the IIS Configuration Dialog, the installer gives you the option to register ASP.NET 4.0 with IIS. The Prizm Content Connect samples require ASP.NET 4.0 to function. If ASP.NET is already configured, this will not undo any current configurations. Once you have made your selections, click Next to move forward with the installation.
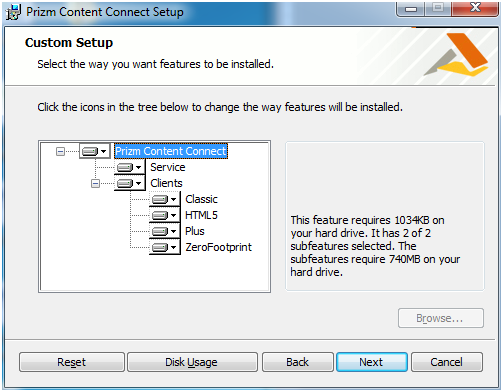
- The Custom Setup screen allows you to define what components of Prizm Content Connect you want to install.
- Service
- Clients
- Classic
- HTML5
- Plus
- ZeroFootprint
Once you have made your selections, click the Next button to proceed to the next step.
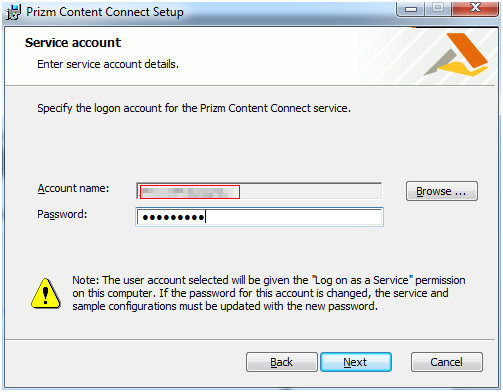
- The next step in the installation process allows you to define the account that will be used to run the Prizm Service that is installed on the system. The dialog will default to the user running the installation, but you can enter in a user name or use the Browse button to select a user from the local system or domain. Once a user has been selected, the password for the user account will need to be entered into the dialog.
 |
The user account specified will be given the “Log on as a Service” permission. This permission is required in order for a user account to be used as the service account. |
Once you have entered in all of the appropriate information, click Next to continue. If the password is not correct an error dialog will be displayed noting that the password is not correct.
- The Ready to Install Prizm Content Connect dialog is the final configuration dialog that launches the installation process. To install the product with the defined settings, click the Install button.

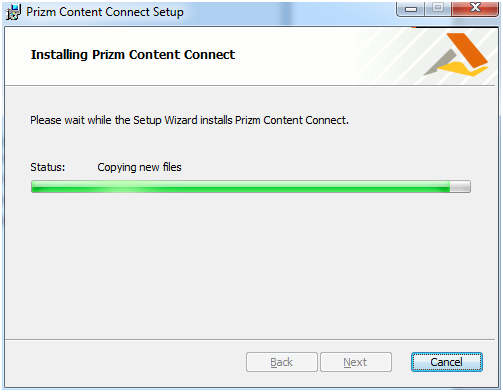
- The Installer will unpack the product, and lay out and configure the product as defined in the configuration dialogs.
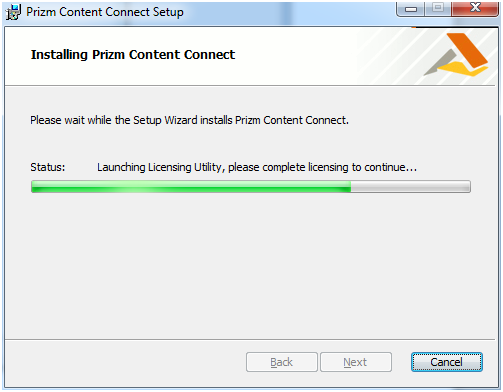
- About three-quarters of the way through the installation, the installer will launch the Prizm Licensing Utility. Follow the steps outlined in this utility to license the product for use. Please refer to the Prizm Licensing Utility instructions for help on obtaining a license.
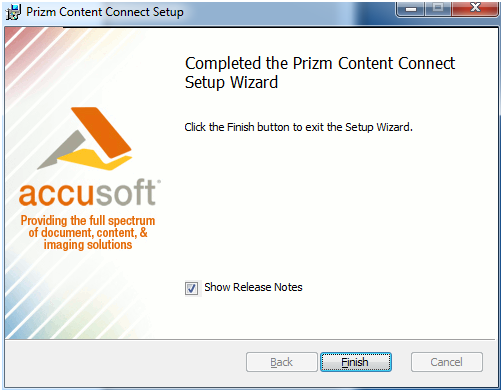
- After the Prizm Licensing Utility completes, the installer will continue setting up your system with Prizm Content Connect. Once the configuration is completed, a dialog will notify you that the installation is complete. There will be an option to launch the product release notes if you wish to view them directly after the installation. Click Finish to exit the Installer.
See Also